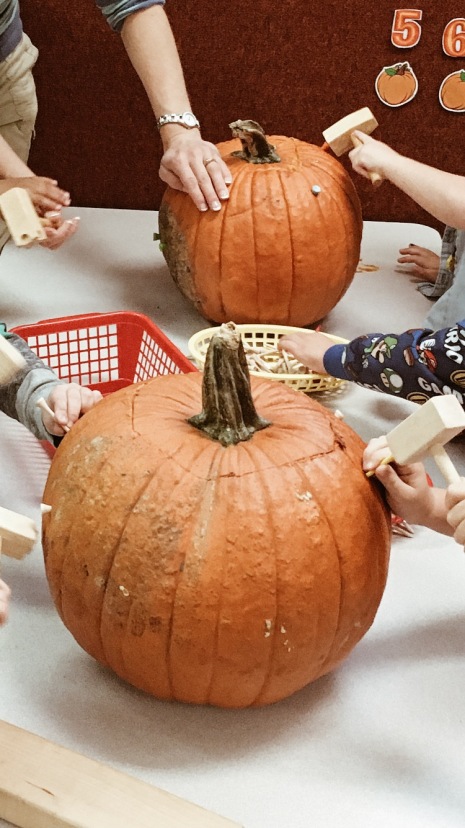
What do I mean by “fine motor” you might ask? A child’s fine motor skills refer to one’s ability, strength, and coordination of their small muscles usually used to refer to one’s hands and fingers. Developing these small muscles is important, because these muscles are what allows your child to gain control while using scissors, holding a paintbrush, tying their shoelaces, and eventually having enough control to write. Whether you have heard this term before or this is completely new to you, in preschool, this is one area of your child’s development we focus on strengthening and developing so that as your child moves on to Kindergarten they have the abilities to for example hold a pencil, have enough stability in their hands to write their letters, be able to cut on a black line, etc. There are many different activities that can be used to strengthen these small muscles, and today I am going to share one fun activity that supports this area of development!

Even just a simple activity of a child peeling off a sticker and placing it on a line is developing their fine motor skills. A child is able to use one fine motor skill which is known as their pincer grasp to first use their thumb and index finger to grab the sticker, then use another one of these skills known as eye-hand coordination to place the sticker onto a specific spot, in this case a letter. 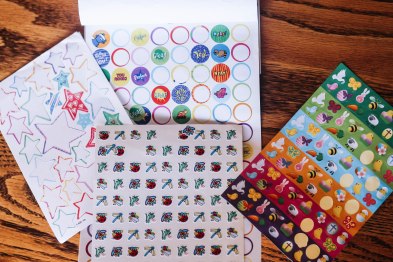
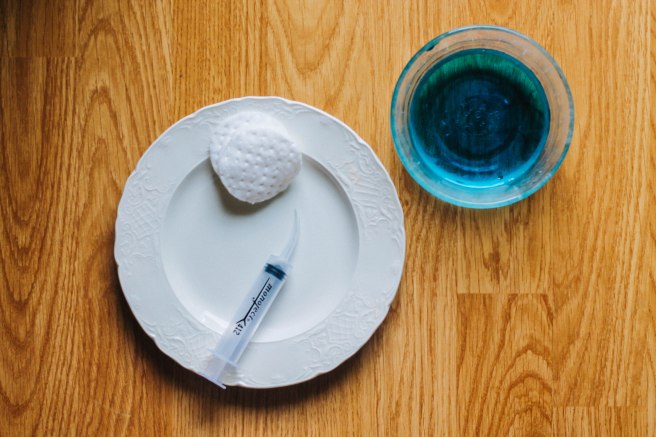
Onto the activity then! First the materials you will need for this activity are:
- A long piece of paper
- A marker
- A plethora of stickers
The explanation for this activity is about as simple as it gets. You are going to write your child’s name on the piece of paper in marker, give your child the stickers, and have them place them on the letters, covering the marker. It is an activity they should have fun doing and develop their fine motor skills as well!


Did you try this activity? I would love to hear how it went!
Amber
Save
Save
Save
Save

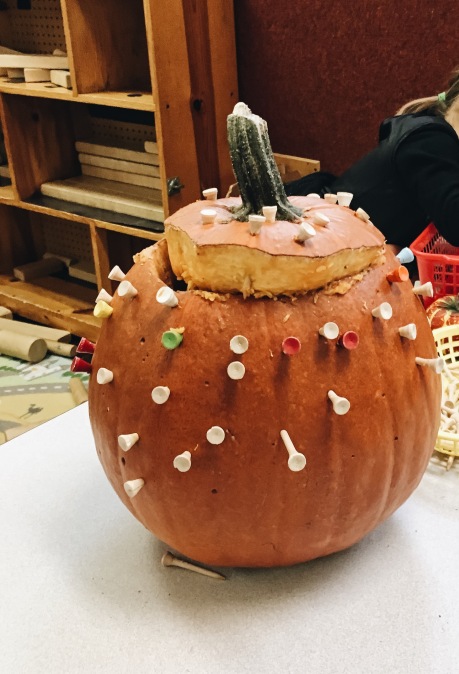
 Next, pour in a little bit of hot water so that it partially or completely covers the candy.
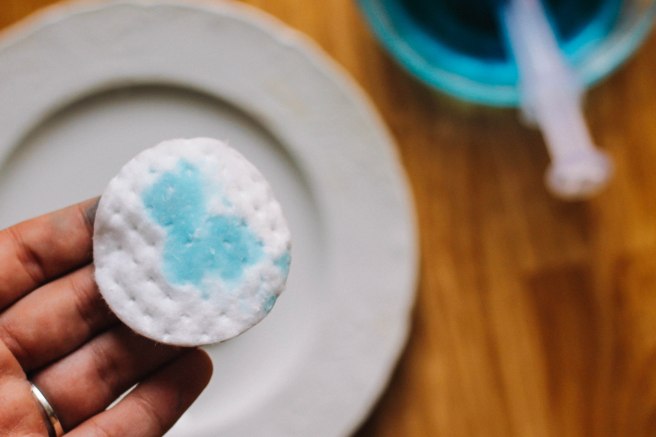
 Finally, you can sit back and watch the magic as the pumpkin forms!
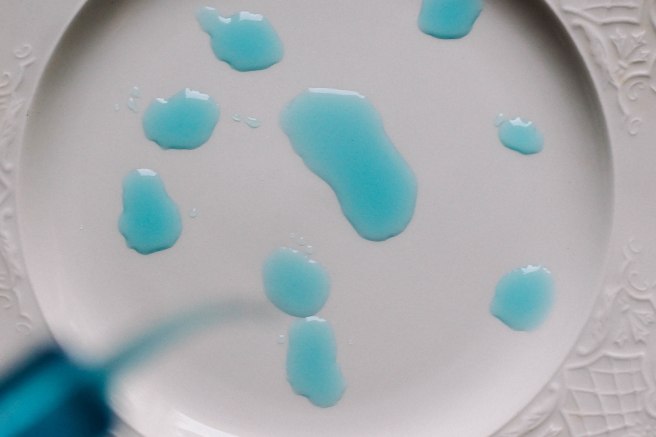
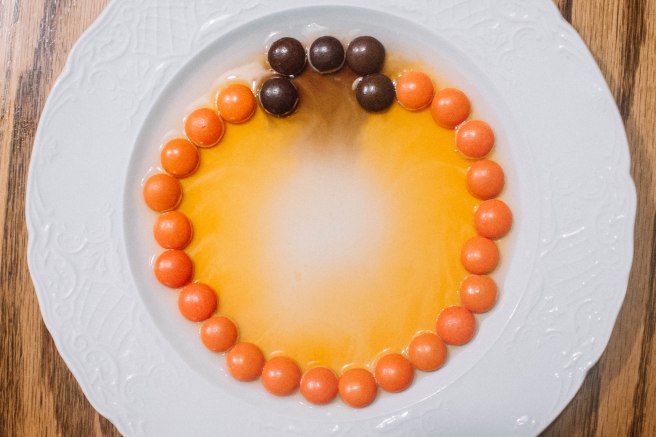 So how does this happen? You can explain to the child or group of children you are doing this activity with that because there is food coloring and sugar on the coating of the Reese’s pieces, that when the water comes into contact with the candy, the sugar dissolves into the water and the food coloring fills the plate where the water is. A similar example is when you put one of these candies in your mouth and just let it sit there for awhile without swallowing it. The saliva and moisture in your mouth dissolve the sugar and the food coloring will most likely stain your tongue!